New to Voyager? Please start here.
Multiple TLS Certificates
You can secure an Ingress by specifying TLS secrets or certificates.voyager.appscode.com resources inside spec.tls section of the Ingress. Voyager writes the TLS secrets in /etc/ssl/private/haproxy/tls/{secret-name}.pem files inside the HAProxy pod. So if you specify multiple TLS secrets, all of them will be mounted in /etc/ssl/private/haproxy/tls folder. HAProxy presents the certificate to clients which matches with the TLS Server Name Indication (SNI) field of the request. If no SNI is provided by the client or if the SNI does not match with any certificate, then the first loaded certificate will be presented. So you need send request with correct SNI. Note that, Host header does not indicates the SNI.
This tutorial will show you how to configure multiple TLS secrets/certificates for different hosts within a single ingress.
Before You Begin
At first, you need to have a Kubernetes cluster, and the kubectl command-line tool must be configured to communicate with your cluster. Then install Voyager operator in your cluster by following the steps here.
To keep things isolated, we will use a separate namespace called demo throughout this tutorial. Run the following command to prepare your cluster for this tutorial:
$ kubectl create namespace demo
namespace "demo" created
Deploy Test Servers
Deploy a test server that serves two different ports.
$ kubectl apply -f test-server.yaml

apiVersion: apps/v1
kind: Deployment
metadata:
  name: test-server
  namespace: demo
spec:
  selector:
    matchLabels:
      app: test-server
  template:
    metadata:
      labels:
        app: test-server
    spec:
      containers:
      - name: server
        image: appscode/test-server:2.3
        imagePullPolicy: Always
        env:
        - name: POD_NAME
          valueFrom:
            fieldRef:
              fieldPath: metadata.name
        ports:
          - name: http-1
            containerPort: 8080
          - name: http-2
            containerPort: 8989
---
apiVersion: v1
kind: Service
metadata:
  name: test-server
  namespace: demo
  labels:
    app: test-server
spec:
  selector:
    app: test-server
  ports:
  - port: 8080
    name: http-1
    protocol: TCP
    targetPort: 8080
  - port: 8989
    name: http-2
    protocol: TCP
    targetPort: 8989
Create Ingress Without TLS
Create a ingress that points to the different port of the test server for different hosts.
$ kubectl apply -f ingress.yaml

apiVersion: voyager.appscode.com/v1
kind: Ingress
metadata:
  name: test-ingress
  namespace: demo
spec:
  rules:
  - host: aa.appscode.ninja
    http:
      paths:
      - backend:
          service:
            name: test-server
            port:
              number: 8080
  - host: bb.appscode.ninja
    http:
      paths:
      - backend:
          service:
            name: test-server
            port:
              number: 8989
Configure DNS
Get external IP for the ingress:
$ kubectl get service -n demo

NAME                   TYPE           CLUSTER-IP     EXTERNAL-IP       PORT(S)             AGE
test-server            ClusterIP      10.55.242.68   <none>            8080/TCP,8989/TCP   6m
voyager-test-ingress   LoadBalancer   10.55.249.12   104.154.239.169   80:31584/TCP        1m
Set the external IP of the ingress service to the DNS record for aa.appscode.ninja and bb.appscode.ninja.

Now wait a little to confirm that these new domains are resolving:
$ dig +short aa.appscode.ninja
104.154.239.169

$ dig +short bb.appscode.ninja
104.154.239.169
Check HTTP Response
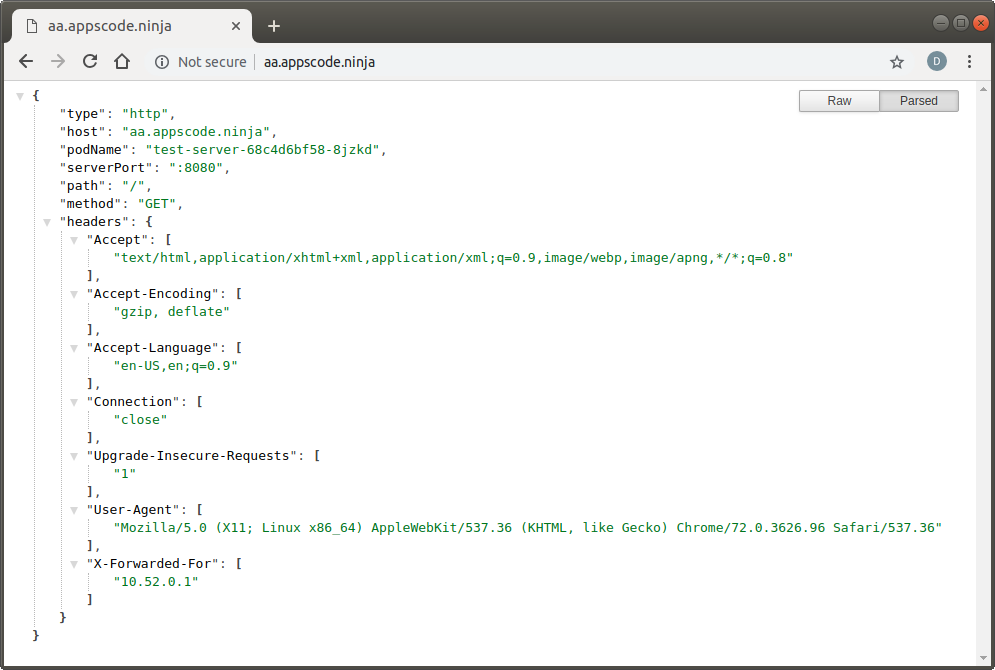
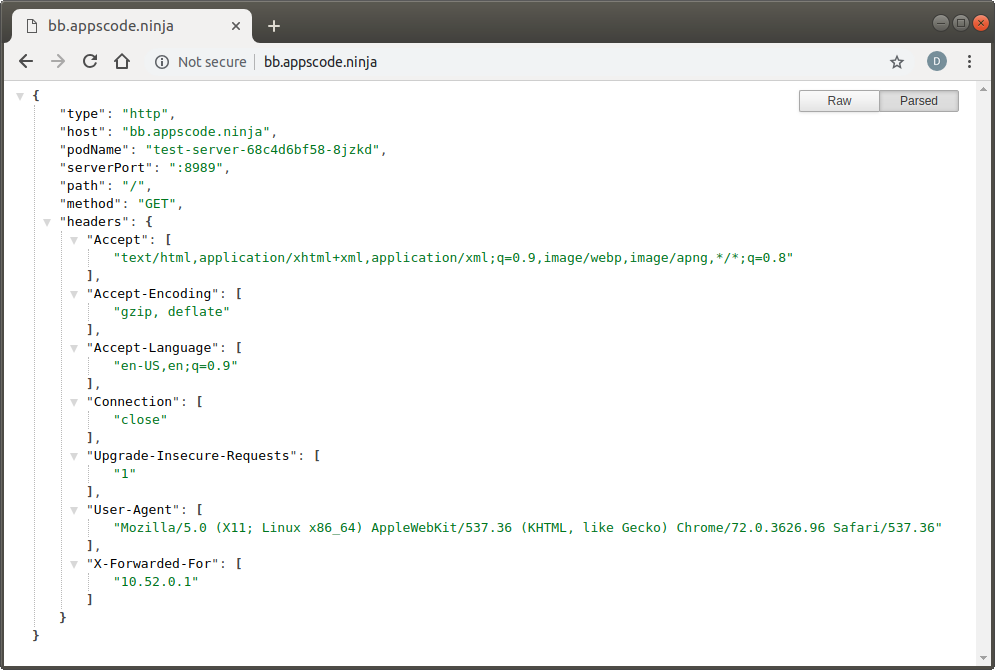
Visit http://aa.appscode.ninja and http://bb.appscode.ninja in your browser:
Create Certificate
In this tutorial we will issue free SSL certificates from Let’s Encrypt via DNS challenge for domains using Google Cloud DNS service. If you like to use HTTP challenge or other DNS service provider, please follow the docs here.
Create a secret with Google service account JSON key. Note that, this service account must have DNS Administrator permission.
$ kubectl create secret generic voyager-gce -n demo \
  --from-literal=GCE_PROJECT=<project-name> \
  --from-file=GOOGLE_SERVICE_ACCOUNT_JSON_KEY=<path-to-json-file>
Create another secret to provide ACME user email. Change the email to a valid email address and run the following command:
$ kubectl create secret generic acme-account --from-literal=ACME_EMAIL=me@example.com
 -n demo
Create two Certificate CRDs to issue TLS certificates from Let’s Encrypt using DNS challenge:
$ kubectl apply -f certificate.yaml

apiVersion: cert-manager.io/v1
kind: Certificate
metadata:
  name: aa-ninja
  namespace: demo
spec:
  dnsNames:
  - aa.appscode.ninja
  issuerRef:
    name: letsencrypt-staging-dns
  secretName: aa-ninja
---
apiVersion: cert-manager.io/v1
kind: Certificate
metadata:
  name: bb-ninja
  namespace: demo
spec:
  dnsNames:
  - bb.appscode.ninja
  issuerRef:
    name: letsencrypt-staging-dns
  secretName: bb-ninja
After several minutes, you should see two new secrets named tls-aa-ninja and tls-bb-ninja. These secrets contains the tls.crt and tls.key.
$ kubectl get secrets -n demo

NAME                               TYPE                                  DATA   AGE
acme-account                       Opaque                                3      2m
default-token-ml4xb                kubernetes.io/service-account-token   3      1h
tls-aa-ninja                       kubernetes.io/tls                     2      47s
tls-bb-ninja                       kubernetes.io/tls                     2      17s
voyager-gce                        Opaque                                2      2m
voyager-test-ingress-token-8jbgh   kubernetes.io/service-account-token   3      54m
Ingress With TLS
Update the previously created ingress and specify the certificates in the TLS section.
$ kubectl apply -f ingress-tls.yaml

apiVersion: voyager.appscode.com/v1
kind: Ingress
metadata:
 name: test-ingress
 namespace: demo
spec:
 tls:
 - hosts:
   - aa.appscode.ninja
   secretName: aa-ninja
 - hosts:
   - bb.appscode.ninja
   secretName: bb-ninja
 rules:
 - host: aa.appscode.ninja
   http:
     paths:
     - backend:
         service:
           name: test-server
           port:
             number: 8080
 - host: bb.appscode.ninja
   http:
     paths:
     - backend:
         service:
           name: test-server
           port:
             number: 8989
Check HTTPS Response
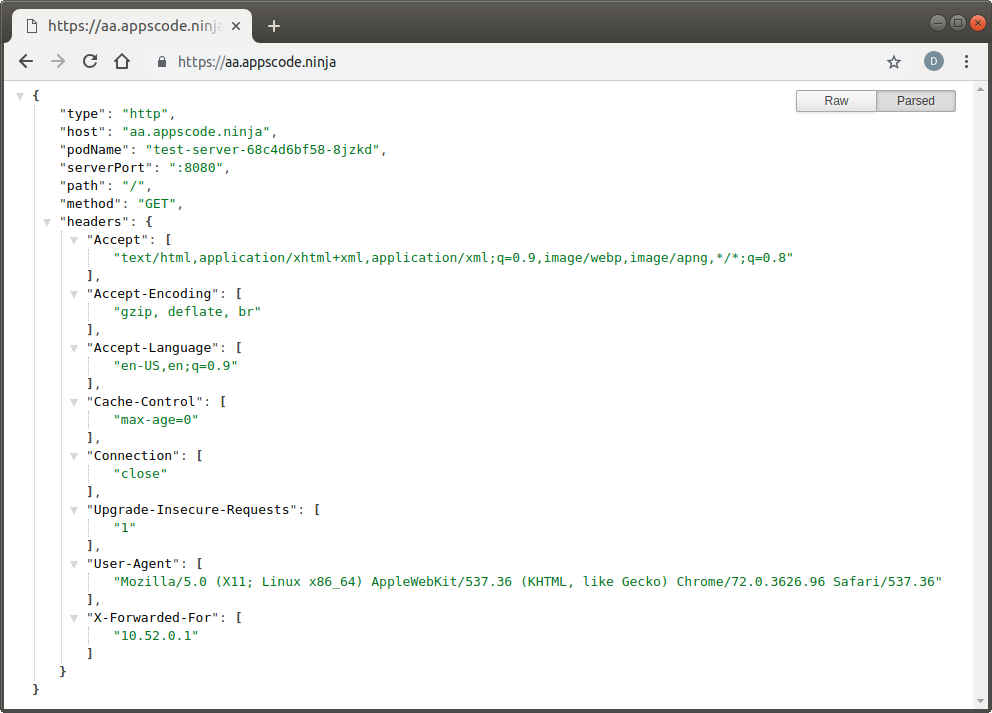
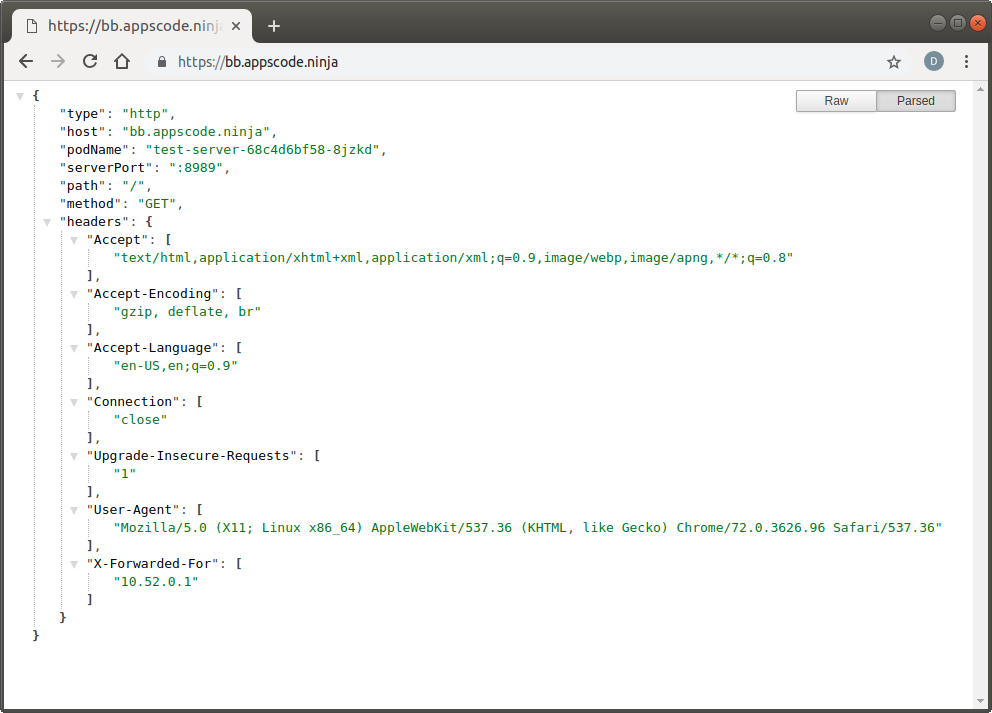
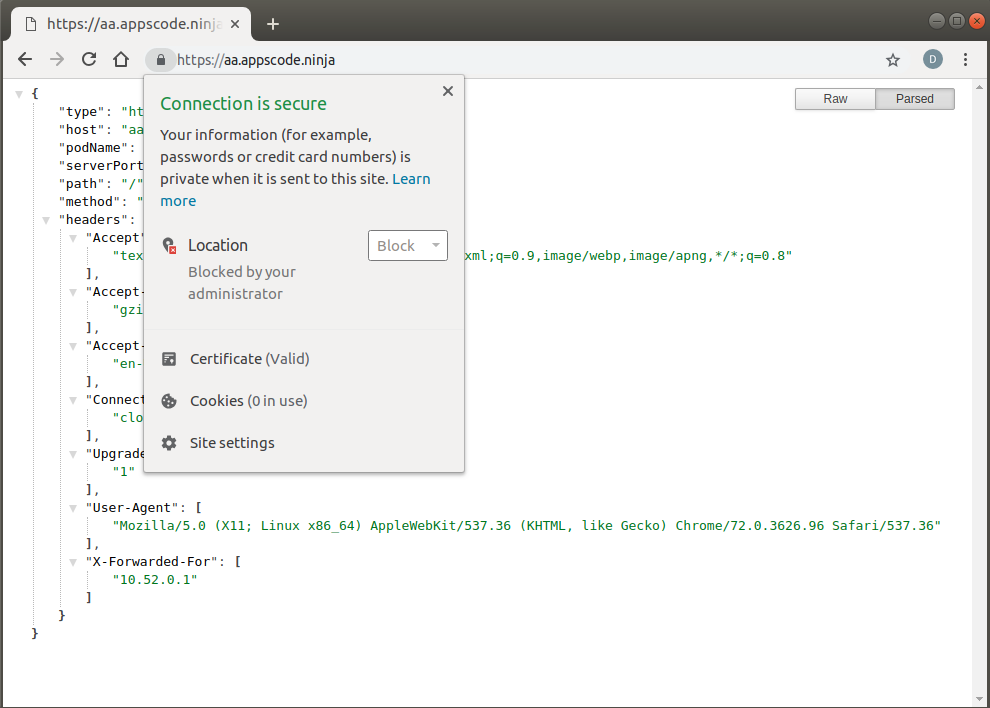
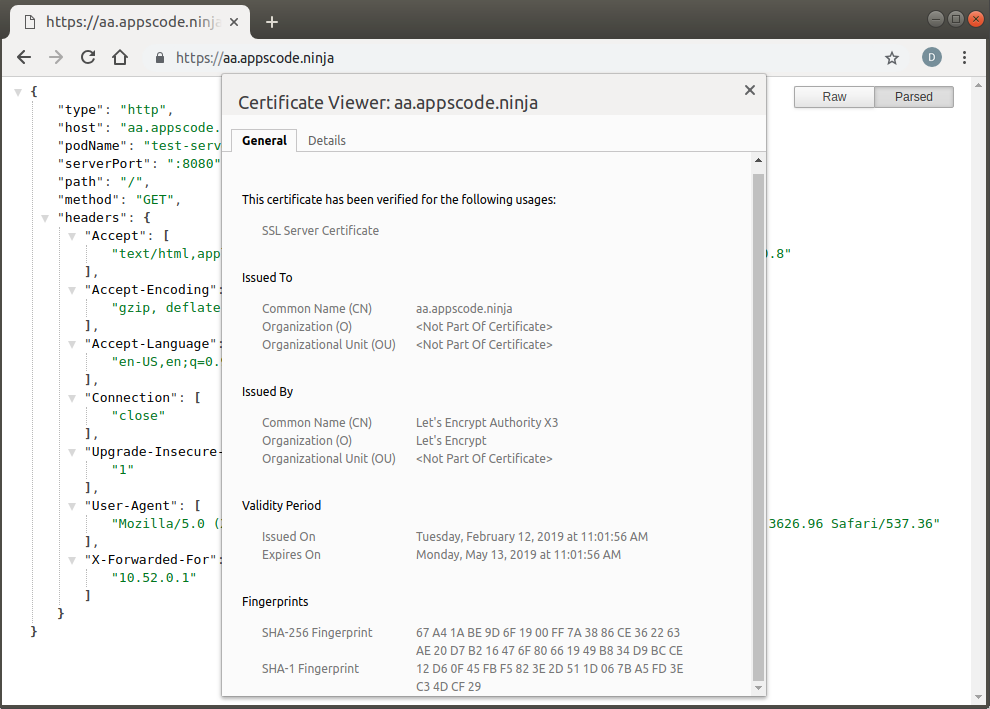
Visit https://aa.appscode.ninja and https://bb.appscode.ninja in your browser:
Check Certificate Details
You can see the certificate details from your browser:
Cleaning up
To cleanup the Kubernetes resources created by this tutorial, run:
$ kubectl delete namespace demo
namespace "demo" deleted
If you would like to uninstall Voyager operator, please follow the steps here.


